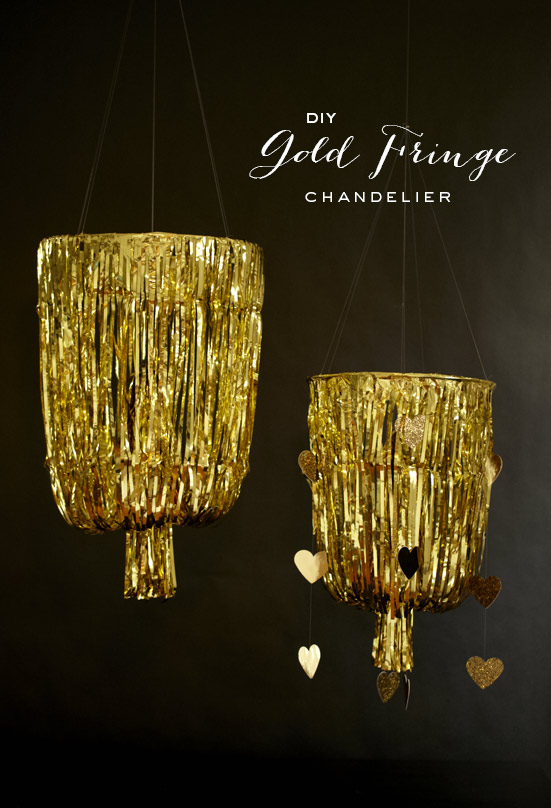
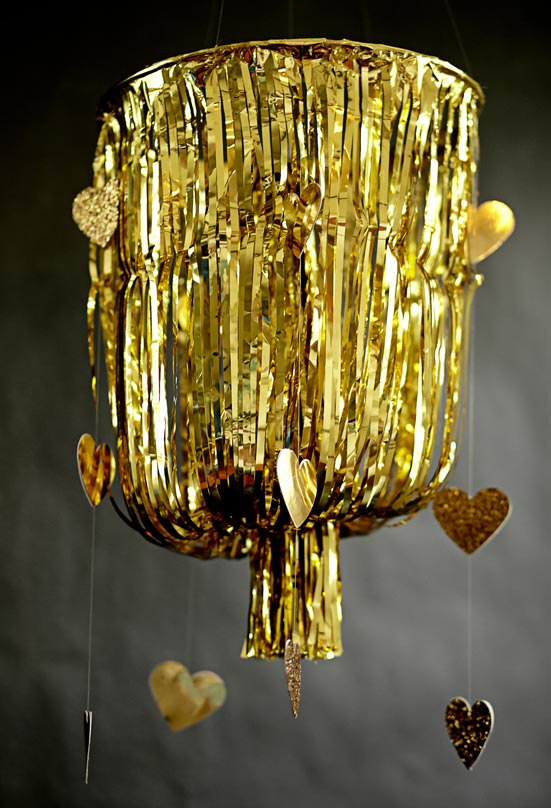
We like our DIY’s glitzy and easy, so when we saw the gold chandeliers Sugar & Fluff made for Jessica Hische’s wedding, we knew we had to give them a try. Don’t you think they’d look pretty amazing above a family style dinner reception, above you while you say your vows, or even in your own home with a light bulb or two hanging inside? Ok, here’s what you need to get moving:
Supplies:
– 12″ + 3″ Gold Ring you can purchase at Joanne Fabrics
– 8′ Gold foil fringe from Party City
– Gold foil paper from Michael’s
– Heart hole punch from Michael’s
– Hot glue gun
– Fishing line
Instructions:
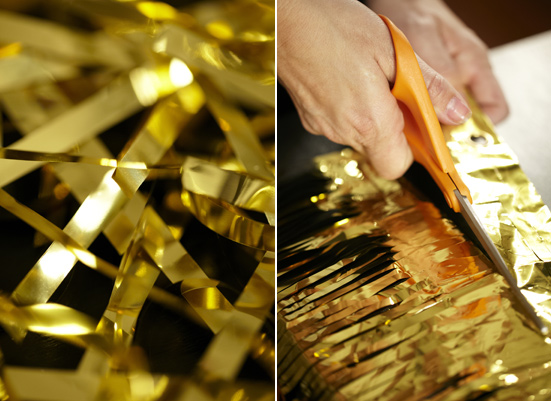
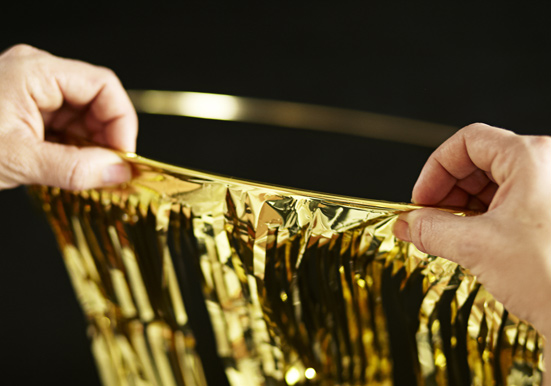
Step 1: Roll out your gold foil fringe and cut about an 1 1/2 inch off the top. This way you’re left with about an inch to wrap around the gold ring.
Step 2: Hot glue the foil to your ring. Really smooth it around because your fringe will just fit all the way around the ring.
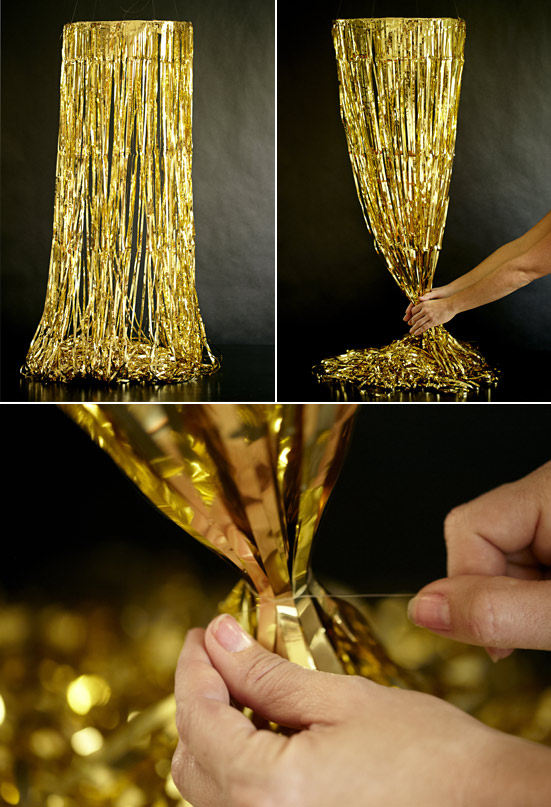
Step 3: To make things a little easier go ahead and add your fishing line to the 4 corners of your ring and tie to your 3″ ring, which will act as a hook. This way you can work with the fringe to create the desired length for your chandelier.
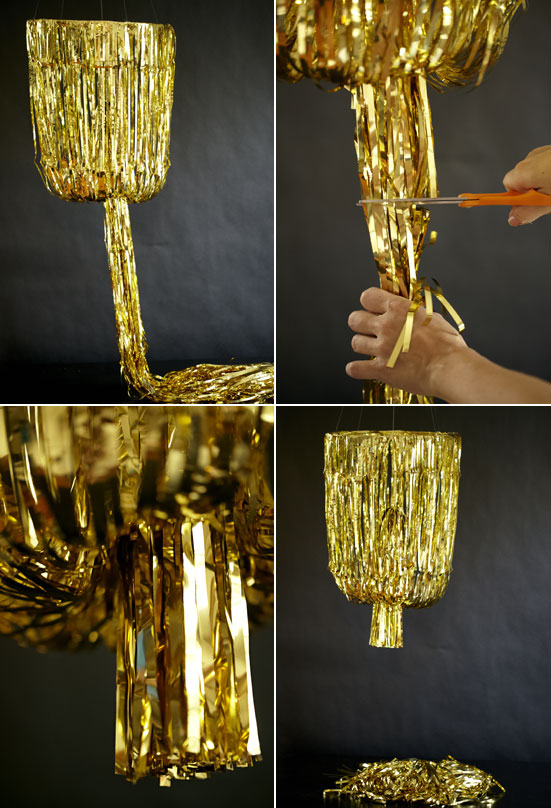
Step 4: Once you have the desired length, take fishing line and tie a knot.Pull the knot up through the center of the chandelier and tie off on your 3″ ring. Cut extra fringe to desired length as seen below.
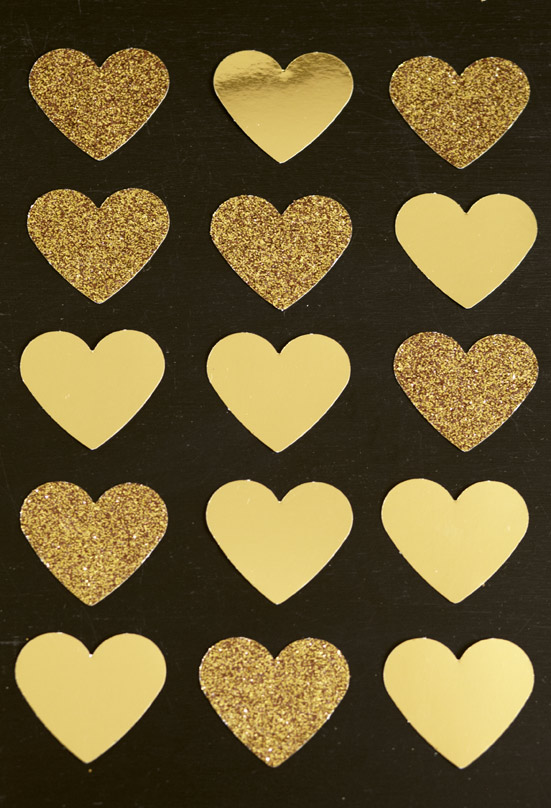
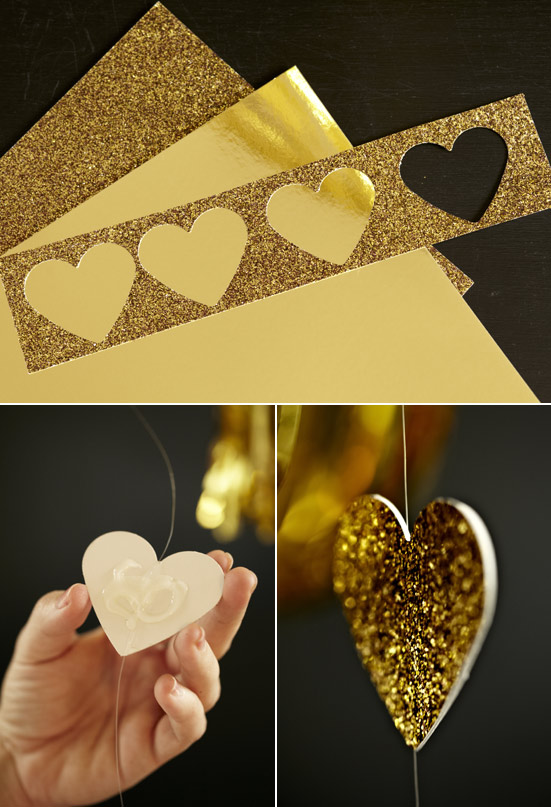
Step 5: If desired you can add some garland to your chandelier. We chose glittery hearts but you can use anything. Just tie fishing line to the top ring and hot glue hearts together on string.

Viola!


