
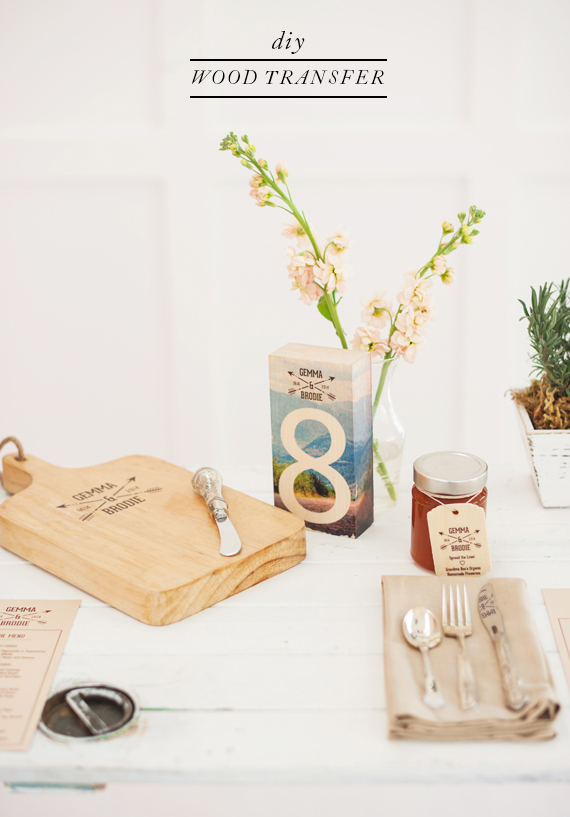
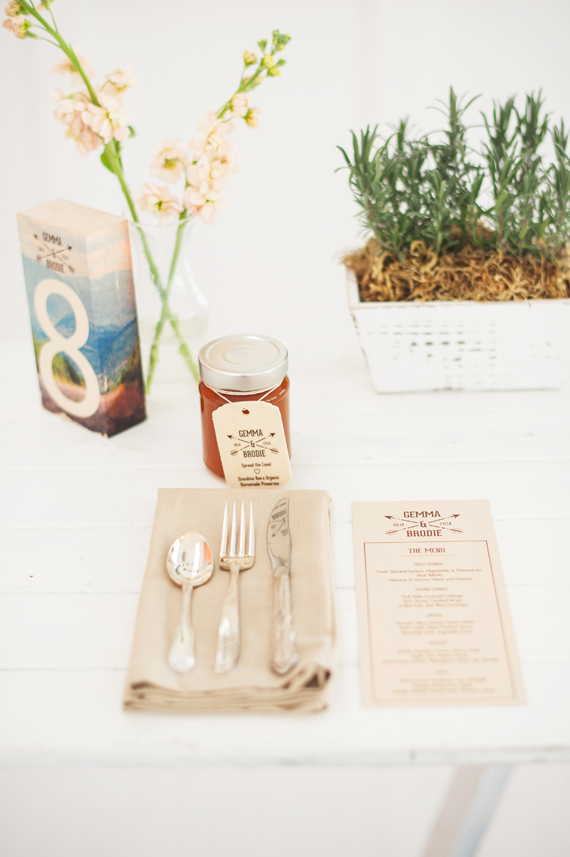
The question is, where were Studio 1079 Photography, Tuktu Paper Co., and French Kiss Events when we were getting married? Because if we had seen their art-to-wood transference tutorial when we were tying the knot, you better believe that this technique would have made an appearance at our own soirees. It’s amazing how easy it is and the possibilities are practically endless—cheese boards, table numbers, even wooden favor tags. Those are just a few of the many ideas swirling through our heads right now! Lucky for all you brides and grooms who are still in the planning process, these guys are sharing a step-by-step tutorial with everyone today. Here’s Laura of Tutku Paper Co. to show us how it’s done…
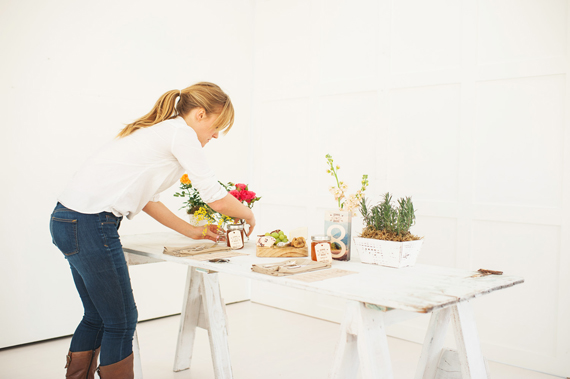
One of the best and most budget friendly ways to customize your wedding is through branding and the use of a monogram. From the invitation to the rest of your paper goods, table numbers, and even your wedding favors, a personalized monogram will set your décor apart, and give your wedding that “designers touch” that your guests will definitely notice! And don’t forget to get creative while branding your wedding. One of the easiest, yet most impressive techniques is called transference, and can be done by brides and wedding planners alike! By using just a handful of materials, you are able to transfer any printed material onto a wooden surface. Only your imagination is your limit!
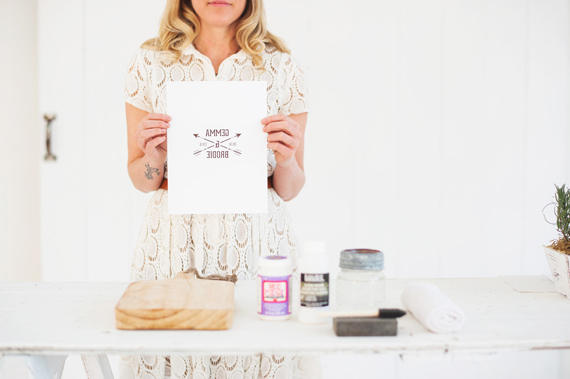
Supplies:
– Scrap wood (sanded smooth)
– Wedding monogram (or a photograph, special words, whatever!) printed reverse – on a LaserJet printer.
– Glazing medium (found at your local craft store)
– Sponge brush
– Water soaked cloth
– Mod Podge (if desired)
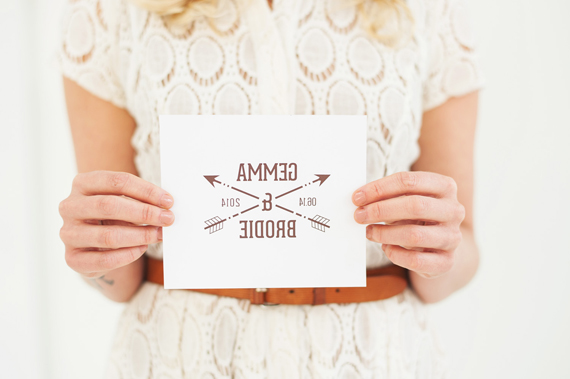
Step One: Purchase one of Tuktu Paper Co.’s online monograms or create your own design. Once completed make sure to ‘mirror’ your artwork so that it‘s reversed. This is necessary (especially for type) as the artwork is going to be placed face down to transfer the image. Scale to desired size and print out on a LaserJet printer (Inkjet tends to bleed and smear). Don’t have a LaserJet printer? Most local print shops will be able to help you.
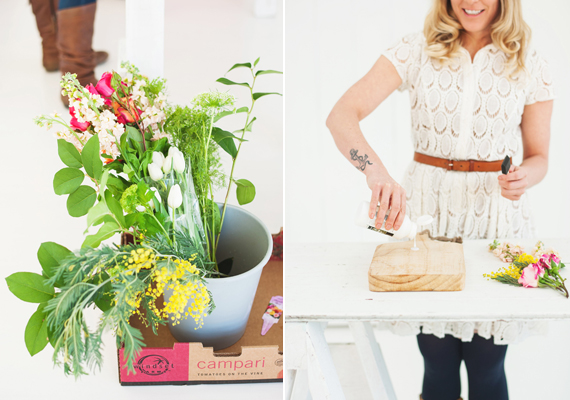
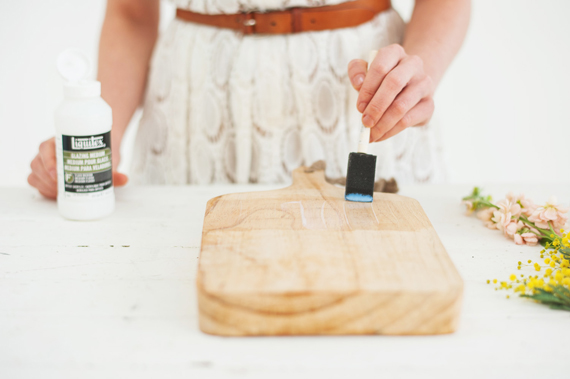
Step Two: Apply glazing medium liberally to the wooden surface using a sponge brush to spread evenly. Take your printed image and carefully place down onto the wood. Smooth any surface bubbles with your fingers and press firmly so that the all of the image gets transferred. Let dry for at least 8 hours.


Step Three: When it’s completely dry to the touch, use a damp cloth to get the surface of the paper saturated. Once it is sufficiently wet and the paper starts to dissolve, begin rubbing the soft paper off with your fingers in little gentle circular motions. The transfer will begin to emerge from underneath like magic! Be patient, it takes a lot of rubbing to ensure all the paper is gone. If some of your transfer comes off with rubbing, don’t fret, that just adds to the beauty of the process!


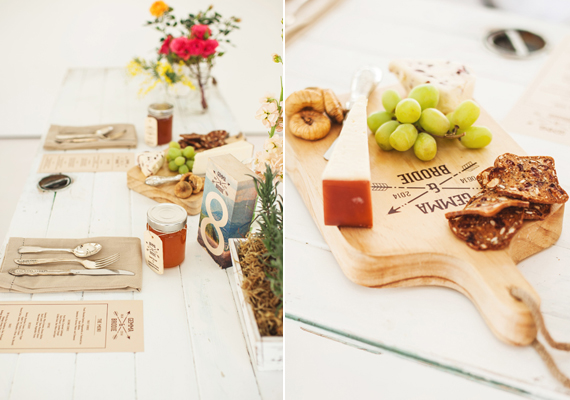


That’s it! Feel free to Mod Podge the design for a glossier look and to ensure longevity. This process works for black & white as well as color images. Play around with different porous surfaces and see what works best. You could also experiment using this method for bunting, personalized wooden hangers, signage—the list goes on!
Note: While the methods we used are non-toxic, please check labels if you’re going to be using on areas that could come in contact with food or children.
Art to Wood Transfer {DIY} from Cassie O'Neil Cinematography on Vimeo.
Photographer: Studio 1079 Photography / Videographer: Cassie O’Neil Cinematography / DIY & Wood Craft Design: Tuktu Paper Co. / Planning & Styling: French Kiss Events


