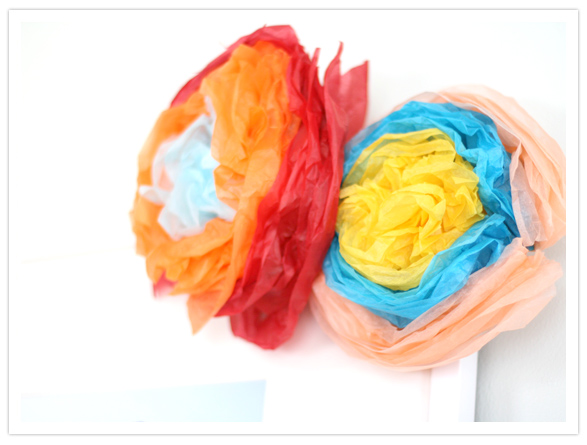
The traditional, Mexican version of these paper flowers isn’t necessarily earth-friendly, but we thought we’d share them this week anyway since they’re so fun! We made a recycled option too that we thought might inspire some of you to use recycled materials for the same project.
We love the idea of re-creating folk crafts from different cultures (or your own) to give your celebration a sense of timeless charm. These flowers would make any event feel festive, light-hearted, and joyful. They’re super super easy to make (we always say this, but it’s true!) and will last as long as you need them to before your event. Start making them in the months before your wedding and you won’t have to scramble at the last minute.
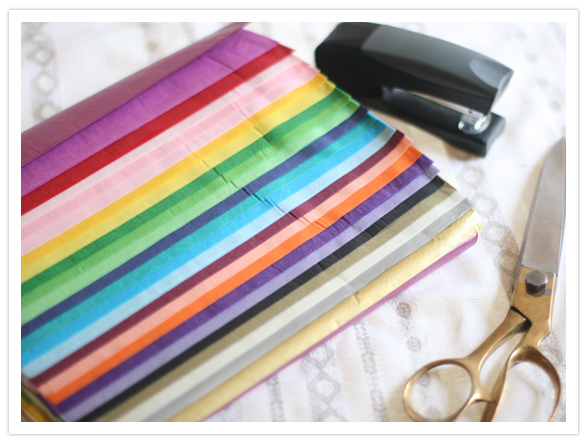
Here’s what you’ll need:
Tissue paper (we bought a multi-color pack from Michaels, but you can find it on Amazon, Dick Blick, Paper Source, Paper Mart, and lots of other places)
Scissors
Stapler, floral wire, or string
The basic concept is EXACTLY the same as the ever-popular “poof”, except you use more than one color and you only pull the tissue paper sheets to one side, instead of both. Instructions below!
1. Cut tissue down to the size you like. 10 x 10″ square (or 12 x 12″) is a good size. Choose three colors, using approx 3 sheets for the middle color and 5 or 6 for each of the other two. Stack ’em up in the order you’d like the colors to appear in the finished flower.

2. Accordian fold the stack of tissue (just like the poofs).
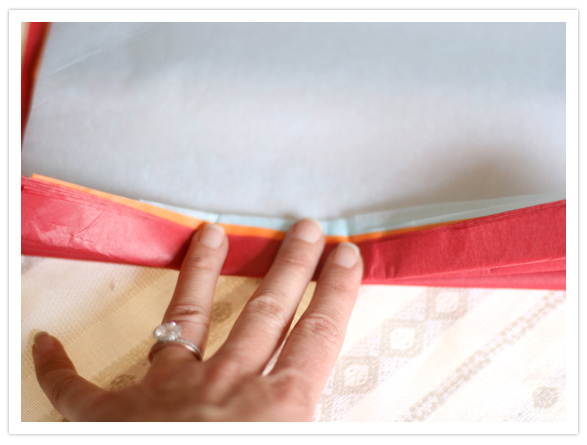
3. Staple the center of the folded paper a few times so the layers are securely held in place. If you’re using too much paper for your stapler, you can always use floral wire or even just some string instead.
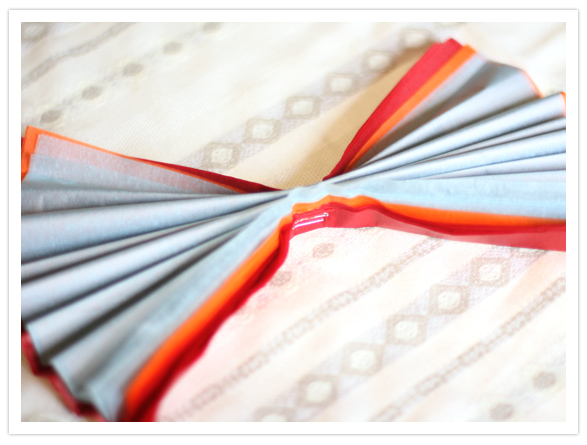
4. Now just like in the poof tutorial, gently pull each piece of tissue towards the center one at a time. Be especially careful with the first few as those seem to be most likely to rip. If you do rip one, don’t worry! You’re going to scrunch the paper up anyway and a ripped sheet will be plenty hidden in the end.
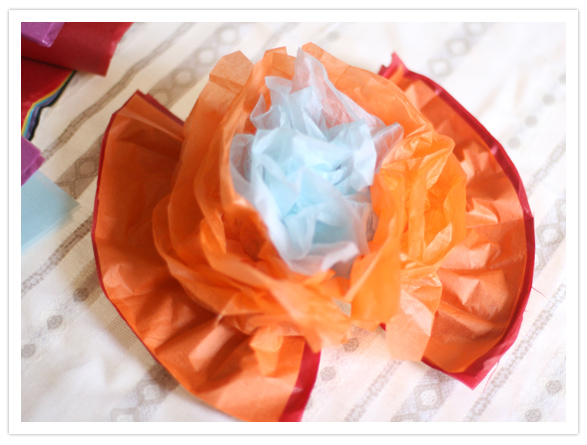
It actually works best if you scrunch the tissue as you go. So maybe finish with the first color and scrunch it up so it looks small and circular enough, then move on to the next color, stopping periodically for more scrunchin’.
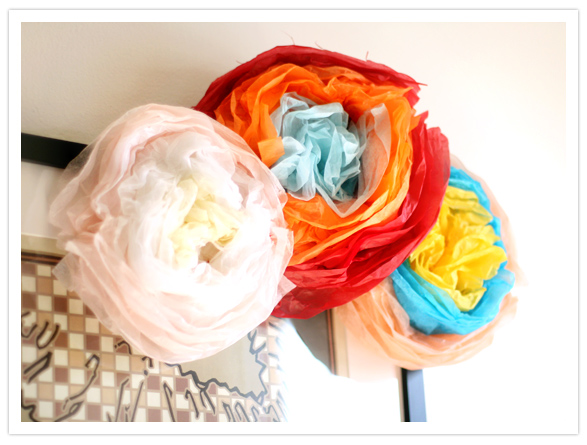
That’s it! You can see that you can use any color combo you want for a different look. Create pretty soft flowers using pale pinks and whites, or more traditional flowers using bright colors. You can even create anemones by using black as the center color, or just plain monochromatic poofs for texture around your reception or ceremony space.
For those of you curious about the recycled newspaper version (or maybe better, pages of old books?), just know that newspaper is thicker than tissue so you don’t need quite as much per flower and it’s a bit harder to work with. We might also suggest wearing gloves if you plan to make a lot of these! Newsprint can be pretty dirty.
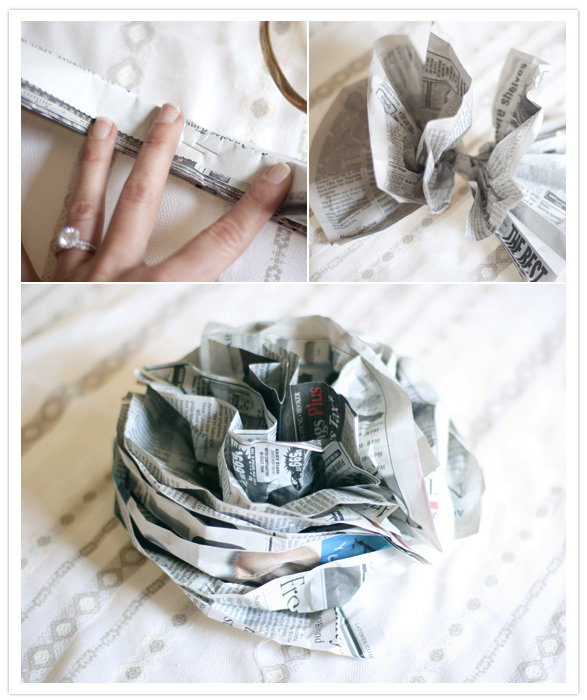
If you want to get hardcore with recycled material, start saving the tissue that shops often wrap articles of clothes in when you buy them. You could even ask your friends to do the same to save lots more trees and a bunch of money! Wrinkly paper will work just fine, especially since you’re going to wrinkle it yourself in the process of making the flowers.
Fun, no? These flowers are like insta-theme for your event. Just add a bucket of cold beer and a vat of homemade guac and you have a guaranteed good time. Who says weddings have to be super complicated? Sometimes the simplest ingredients make for perfection.


