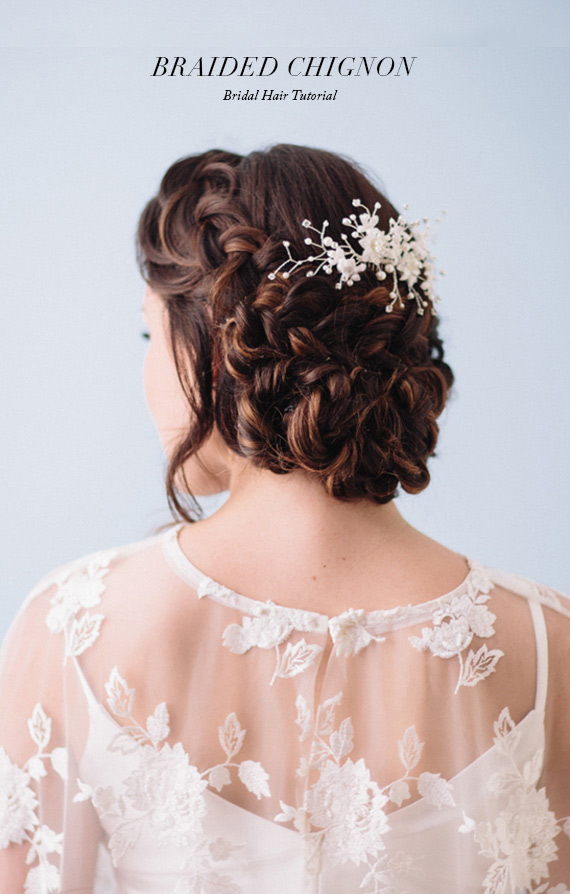
How stunning is this hairstyle guys? We’re always head over heels for braided bridal hairstyles but a braided chignon, hello! Icing on the cake. Super sophisticated and such a beauty if you have longer hair you want to pull back off a certain white dress. Check out the instructions hair stylist Angela of Beauty In Motion shared with us below… You’ll be surprised to find that it’s a totally doable DIY for your big day.
Thanks to Jennifer Fujikawa Photography for the photos! Now, onto the how-to.
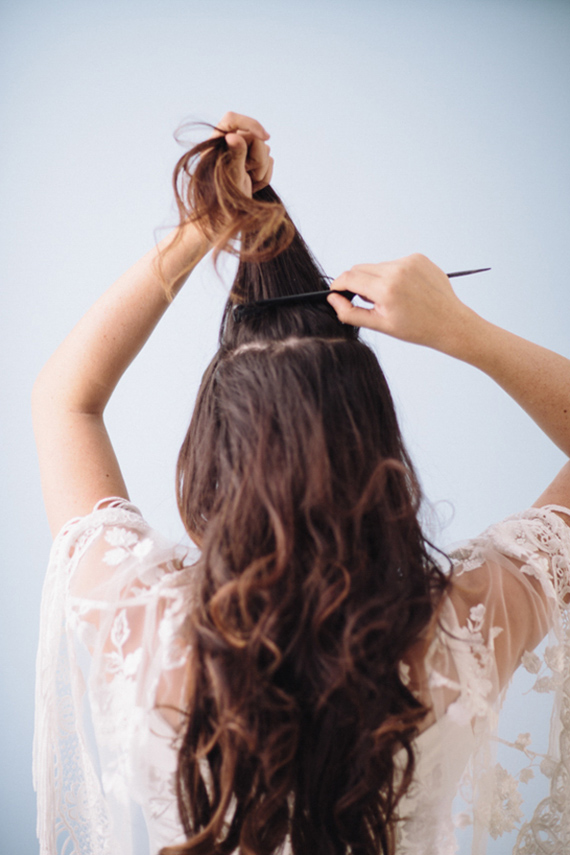
Start off by curling the entire hair with a 1-inch curling iron to create loose waves. Section the crown area and start teasing it to create desired volume.

Smooth out the surface of hair nicely and spray with hairspray.
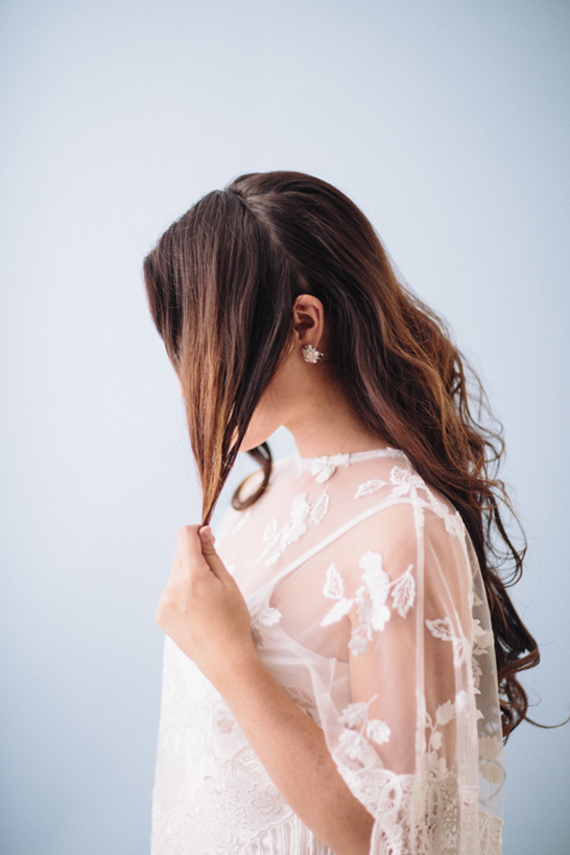
Part your hair with deep side part. Then create two sections on either side of your head, even with your ear. Pin out of the way.

Take the deep side part section and start to French-braid along the longer hairline, pulling in small sections as you go. Gently pull on braids to loosen and fatten up the braids a bit to create a romantic feel and textures. Secure it with elastic.

Now take the other side and braid it the same way as the deep side part section.
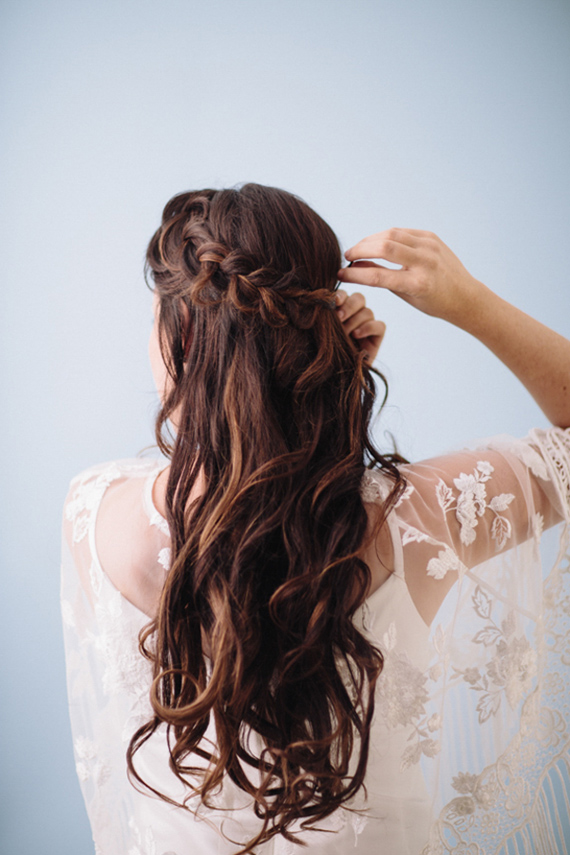
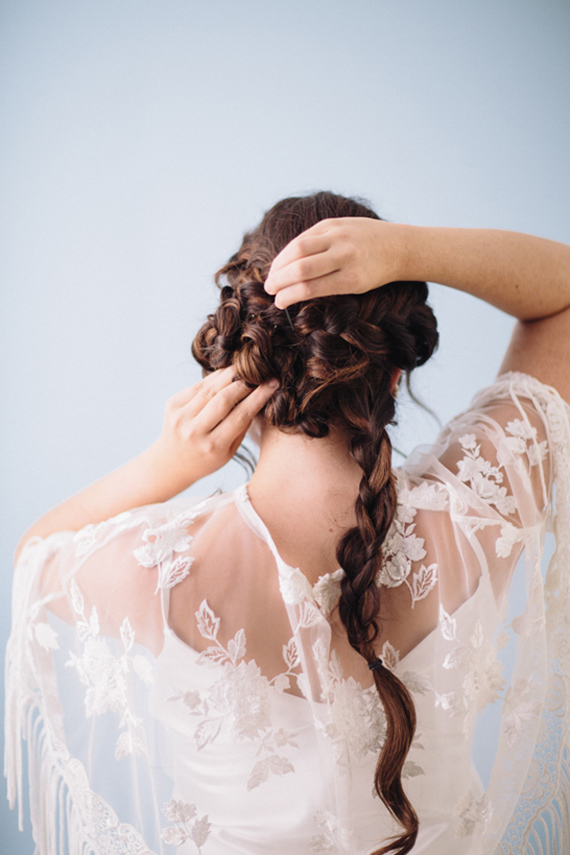
Take the braid from the deep side part section and pull it across the back of your head and secure with a bobby pin.

Now pull the other side of the braid and secure it with bobby pin just below the deep side part braid.
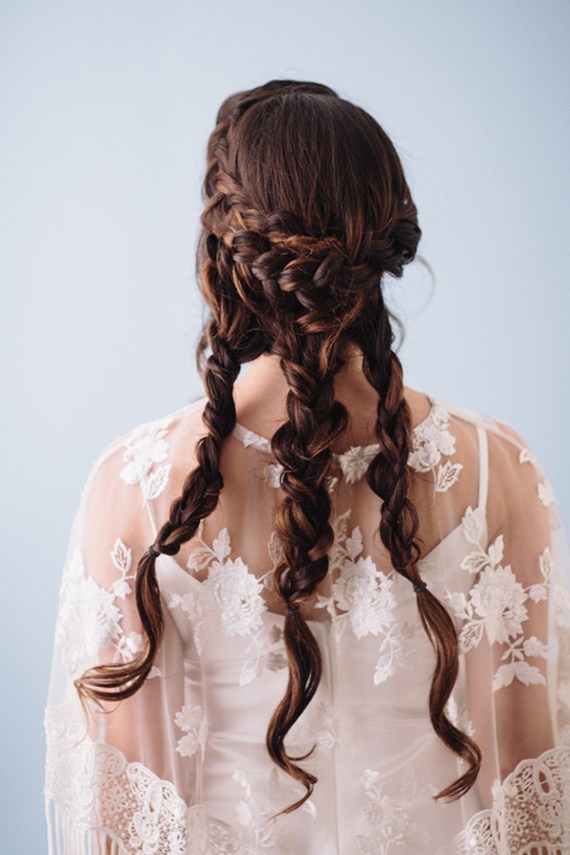
Divide the remaining hair into three sections and French braid each section. Make sure to loosen up the braid before securing it with elastic.
Now carefully roll up each braid to create a rose bun and secure it with bobby pins. Don’t worry about your hair being a bit messy or pieces falling out; this look is supposed to be more organic than polished.
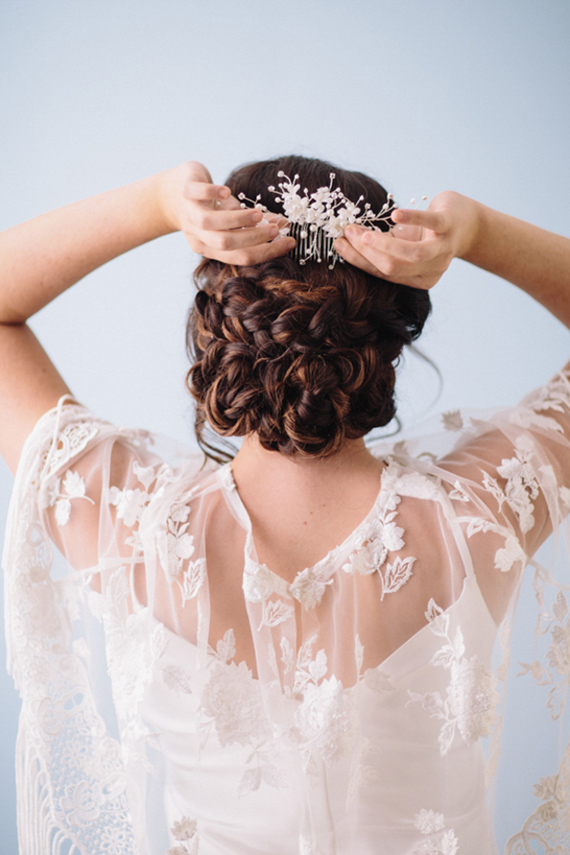

Last but not least, accessorize the hair with a pretty sparkly hair comb by Marisol Aparicio and there you have it!

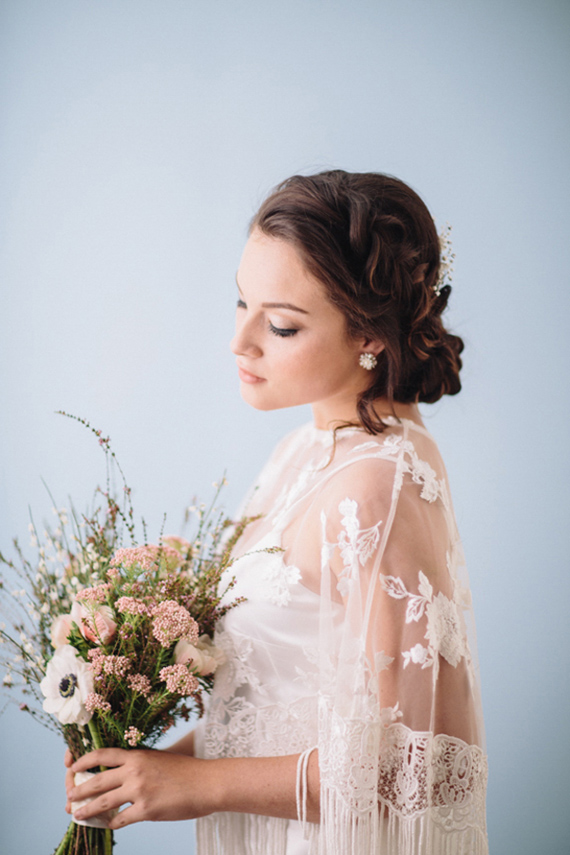
Beautiful, right? Thanks to Angela of Beauty In Motion + Photog Jennifer Fujikawa for sharing!
Photographer: Jennifer Fujikawa Photography / Hair Stylist: Beauty In Motion / Dress, Cape, Veil & Headpieces: Marisol Aparicio