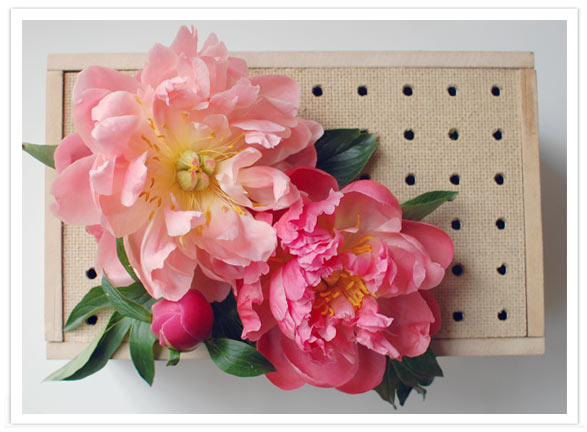
Today, our DIY centerpiece comes from the simplest of materials: particle board and peg board. Personally I’ve always loved the graphic pattern of particle board. My grandfather used to outline all of his tools in sharpie marker on the particle board in his garage. I’ve had a crush on this unassuming material ever since.
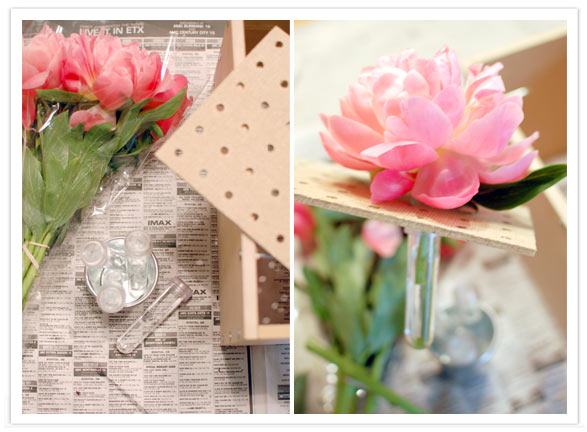
To create the peg board flower box you’ll need floral tubes, a sheet of peg board, particle board, a box of galvanized roofing nails, and a penchant for power tools (or, in my case, that handy mister again). Cut out 2 pieces of particle board sized 7×11” and two pieces 7×6” (if you ask nicely someone at your local hardware store may just cut these pieces for you). Form the four pieces into a box and hammer the galvanized nails into the seams. You can use as little or as many nails as you’d like. Then take four nails and hammer them horizontally into the about ¼” below the top. This creates the ledge for your peg board top to rest. Next cut a 6×10” piece of peg board for the top.
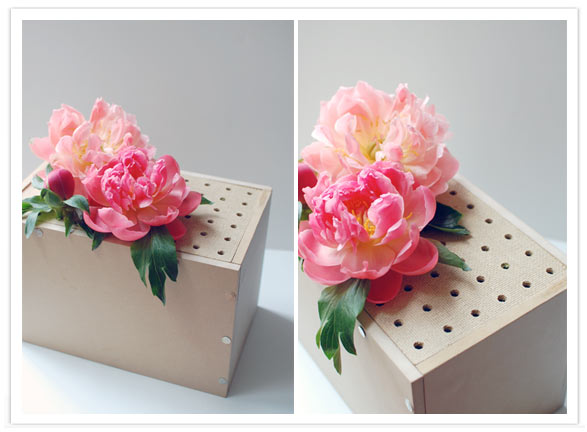
Let’s beautify this thing. I found the most stunning peonies at the market this morning. Cut your largest bloom leaving about a 4” stem. Insert the stem into one of the peg board holes and then insert the stem into a floral tube. Repeat these steps with as many blooms as you’d like. We used two large blooms and a bud here – but you can fill the box as much as you’d like.
Place the flower filled peg board atop the box and viola you’ve got a stunningly simple and terribly beautiful centerpiece.
Thanks, Kelly, for all your thoughtful floral arrangement ideas! To continue to be fueled with inspiration be sure to check out Kelly’s blog Yes, Please or better yet book her for your next event.
