Hello there! Kelly here from succulentLOVE and yes, please design. I am super thrilled to spend the week with you. Let’s get acquainted. You: super fabulous 100 Layer Cake reader. Me: Purveyor of all things lovely. As a floral designer and event/paper goods designer I am a sucker for the pretty things in life. I do cartwheels for the aesthetically pleasing. Twirl for beauty in any form. With spring in the air and Earth Day right around the corner, I am inspired by finding beauty in the unexpected. This week I’ll be sharing projects that involve using (and in some cases upcycling) everyday objects to create the loveliest of centerpieces.
Without further ado, let me introduce you to the natural beauty of the Railroad Tie…
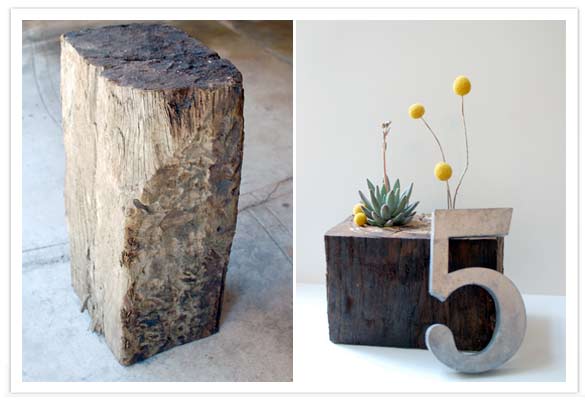
You can find these treasures at most hardware stores. I got mine at Anawalt Lumber on Highland. These railroad ties are mighty heavy, so you may want to recruit some help for this one. My help came in the form of my super handy mister. First, we sawed through the width of the piece to form a 7x9x6” chunk for our centerpiece. You can get about 3 vessels out of one railroad tie.
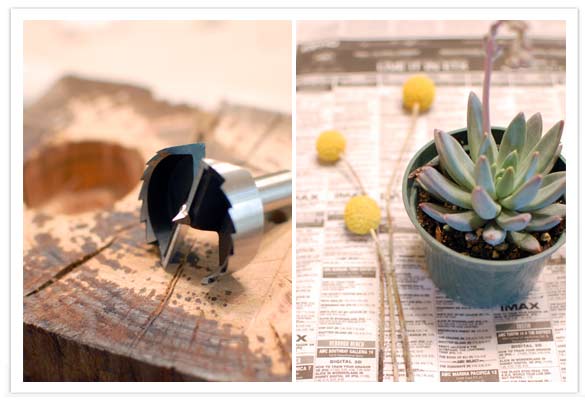
Said mister then took his handy tools (namely a 2 1/8” Forstner bit) and drilled down about 2” to create a cubby in the wood. Then, using a 1/8” drill bit, he drilled a much smaller hole about 4” into the wood. When he handed me my canvas I squealed with glee. To finish the centerpieces, I took a medium sized succulent and nestled him into the larger hole. Then I took three dried craspedia balls and arranged them in the smaller hole for a pop of yellow.
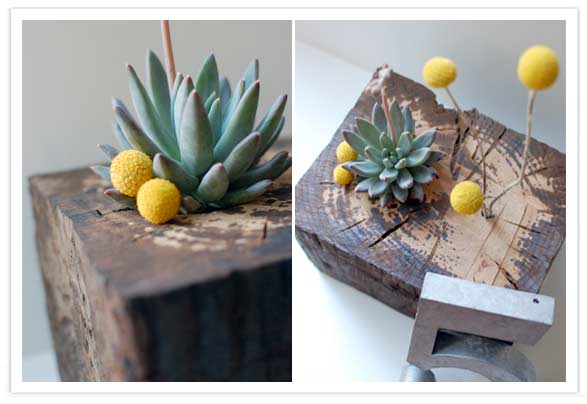
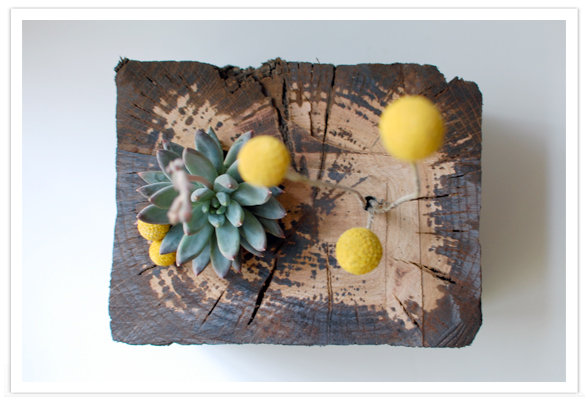
Lean a vintage metal number against the block and you’ve got a modern rustic centerpiece. Lovely isn’t it?


