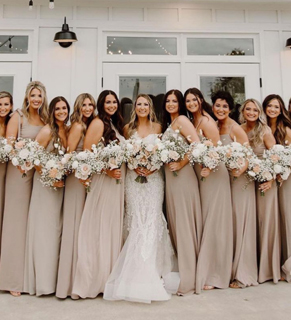

Above is a quick reminder in case you forgot how her own wedding flowers turned out… yesterday.
And now we’re going to turn it over to Brittni to share her tutorial. Even though we usually like to write out posts in our own words, it seems like in the case of a tutorial the instructions are best left to the instructor. Welcome Brittni!
“Hi everyone! Brittni here from papernstitch. I am so excited to be here today to share a tutorial for creating wedding bouquets. I made all of the floral bouquets and centerpieces for our wedding. It was much easier than expected, but also took a lot longer than expected. We purchased all our flowers in bulk from Whole Foods for the wedding. And for this tutorial I just went to the grocery and picked up what was available at the time. So, you can use any kind of flowers for this project.
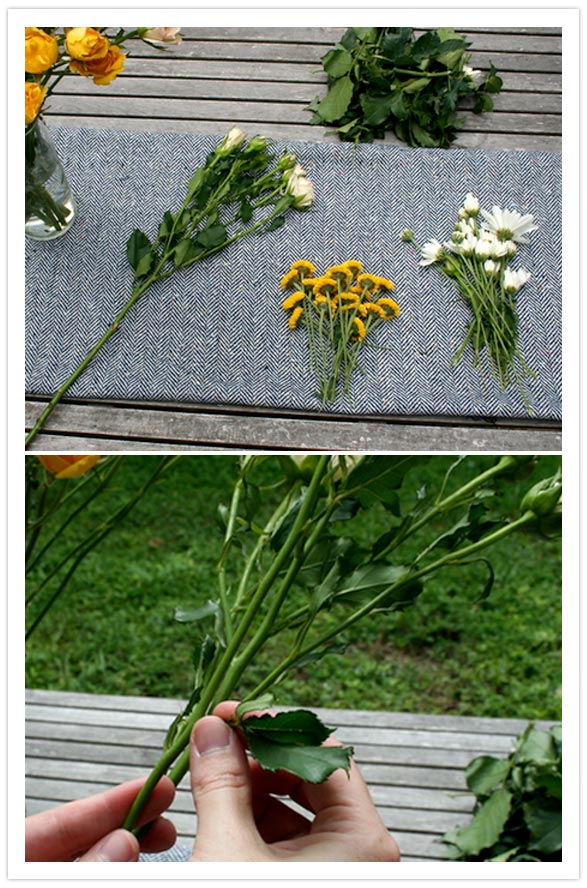
I find that having a buddy help out with the bouquets is best for an extra set of hands to help hold the flowers in place at the end. Also using various sizes and shapes of flowers works well, making sure to have at least one type of flower that is large in order to make the bouquet feel full fast. I used peonies in my wedding bouquet, but today I am using mums, which work just as well.
Start by taking all of the leaves and excess stems off of the flowers you plan to work with (I would recommend around 5 different types) and then cut the bottom of the stems at an angle under some water to get everything prepared. It works well to have the different types of flowers separated out in different vases if possible, so you can just pluck them out easily when needed. Then the actual bouquet begins.

Start out with a large bloom and then began building around that, loosely holding the stems just under the bloom, as close to the flower as possible. I made sure to continually criss-cross the stems (creating something similar to an X over and over again- starts to look like the top of a teepee after a while).
You will also want to make sure that you are able to turn your hand every so often to ensure you are working your way around the bouquet evenly. Depending on the flowers you choose and how big you want the bouquet, expect to use between 15 and 25 stems total.

Now that your bouquet is more secure, you can start wrapping floral tape around the stems, to keep them compact. I wrapped the floral tape down the stems for about 5 inches and then stopped, so I could leave room for the stems to be exposed at the bottom.
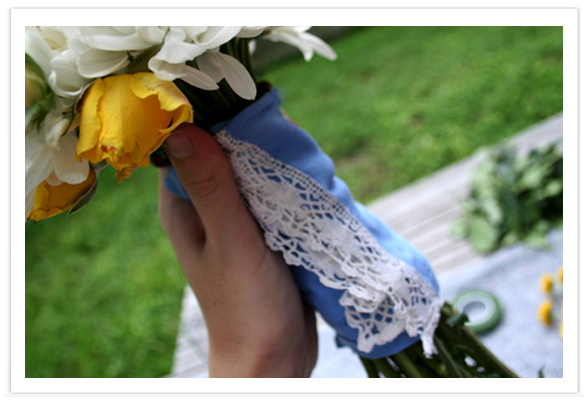
Next, grab an antique handkerchief and wrap it around the stems, covering the floral tape completely. To secure the hankie, pin the top and bottom with very small sewing pins or something similar. For extra security and decorative details, wrap twine around the center of the hankie and finished it off with a decorative pendant. Then, cut off the excess length from the stems to make them shorter and easier for holding. But remember to keep the bouquet in a little bit of water until right before the ceremony if possible to keep everything fresh.”
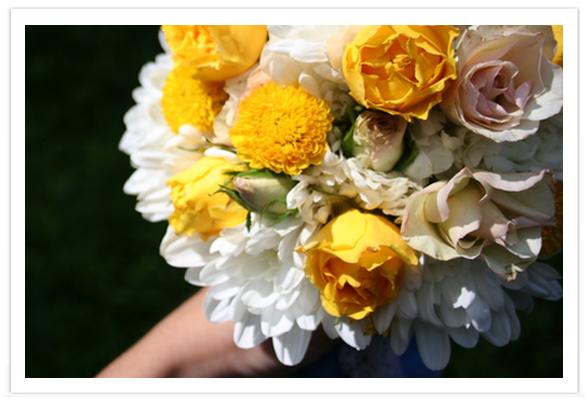
And that’s that. See? Not so bad, right? Now that you see it all deconstructed…
Thank you so much Brittni for sharing both your lovely wedding and one of your many projects with us!


